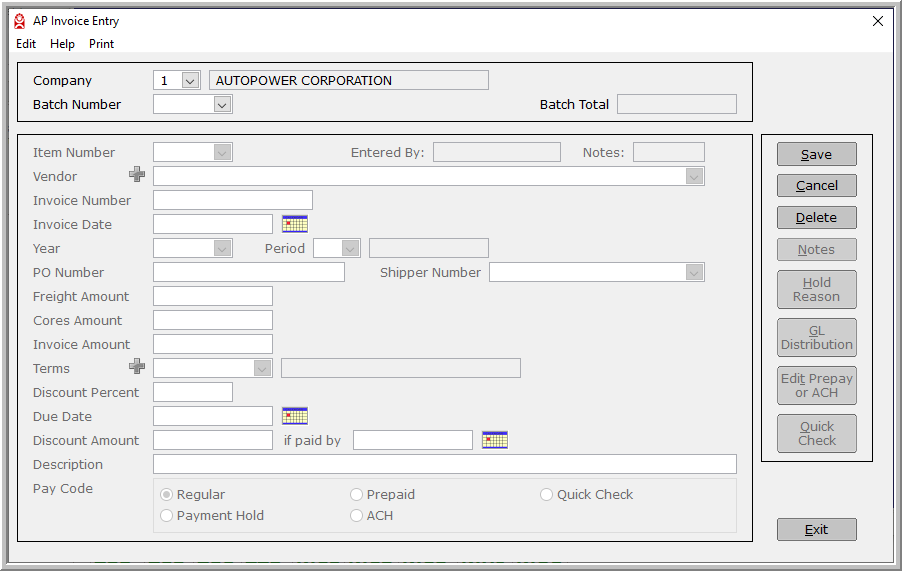
The Invoice Entry is where you enter all the applicable information specific to an invoice. Here you will begin to see the necessity of the Setup files that we have previously covered.
Click on Invoice Entry to add an invoice.
The AP Invoice Entry is now displayed on the screen.

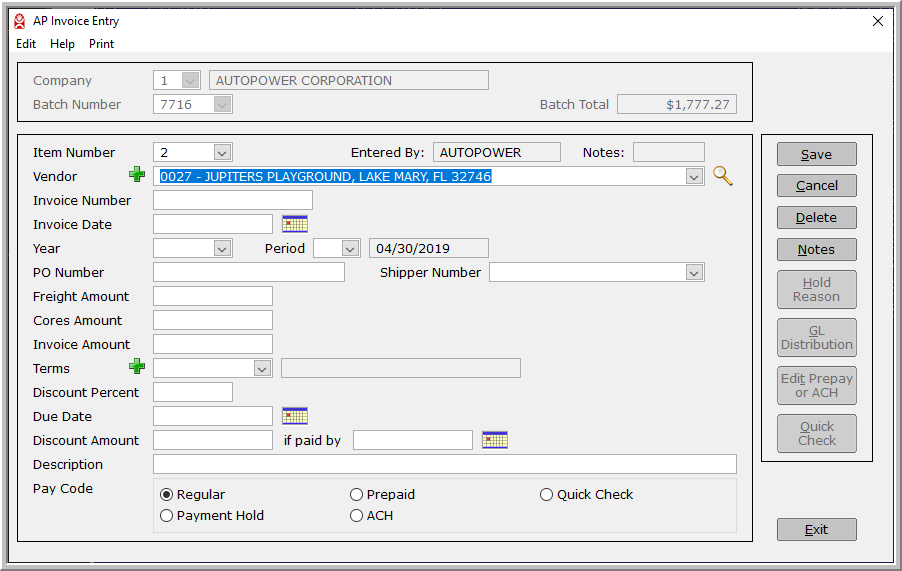
In the example illustrated below, we have clicked on Save. You can see how you now are on the next sequential Item Number.

Remember: Once you have entered all the applicable data for this invoice, click Save. If you do not click on Save, the system will not advance you to the next Item Number.
Exiting Invoice Entry
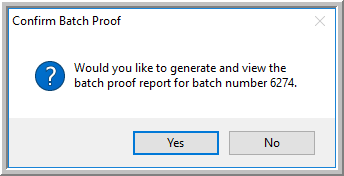
Once you have entered all the invoices that need to be entered for this batch, click on Exit. The system will prompt you to generate and view the batch proof report.
